A simple Azure Function using F#
Contents
The other day my friend Jero wrote an article explaining how to write a Google Function using Javascript. The goal of this article is to do the same exercise but using Azure Functions and F#.
First steps
First of all, you will need to set up a couple of things. Don’t worry, both of them are free. First of all you’ll need an Azure account. You can create one for free and have £150 credit (and you’re not going to spend a single pound doing this exercise).
Second (not entirely necessary as you can edit an Azure Function directly in the browser, but highly recommended) you need an IDE to develop F#. Download VSCode and install the Ionide extension and you’ll be in a perfect position.
If we want to develop locally we’ll need to install the Azure Functions CLI. Unfortunately, this tool is only available in Windows right now. This tool will help us a little bit on the function creation. Right now is a convenient way to create an Azure Function, but it’s not entirely necessary. At the end, is going to create some files that you can create manually if you want.
To install the Azure Functions CLI you need to follow the folowwing steps:
- Install nodejs
- Update npm: npm install npm@latest -g
- Install Azure Functions npm package: npm i -g azure-functions-cli
Now we can create the Azure function folder. Create the folder where you want to work and type func init ManOrWoman. This will create a git repository with some files inside. 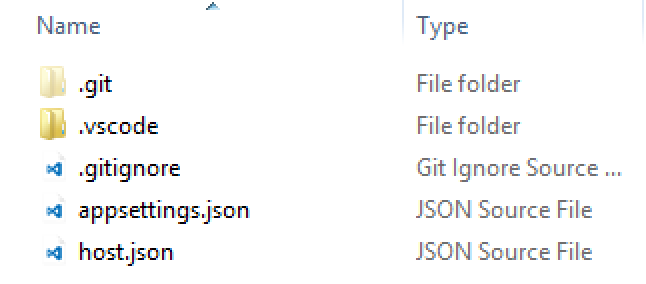 Now you can push the repo to Github.
Continuous deployment
What are we going to do in this example, is enable the continuous deployment from Github. We will link our Azure Function to a repo in Github so that every time we push a change the function will be automatically deployed. Probably something you don’t want to do in your professional project but that is good enough by now. Hopefully, we’ll see how to deploy an Azure function in a more professional way in a future article.
Let’s go to the Azure portal and create a new Function App:
- App Name: ManOrWoman
- Resource Group: ManOrWomanRG
- Hosting Plan: use a App Service Plan -> create new -> Free Tier (or a consumption plan)
- Storage account: (create new) manorwomansa
When Azure finishes creating the function you can set up the continuous deployment using Github:
- Click on Start from source control
- Follow the steps to set up a new github deployment
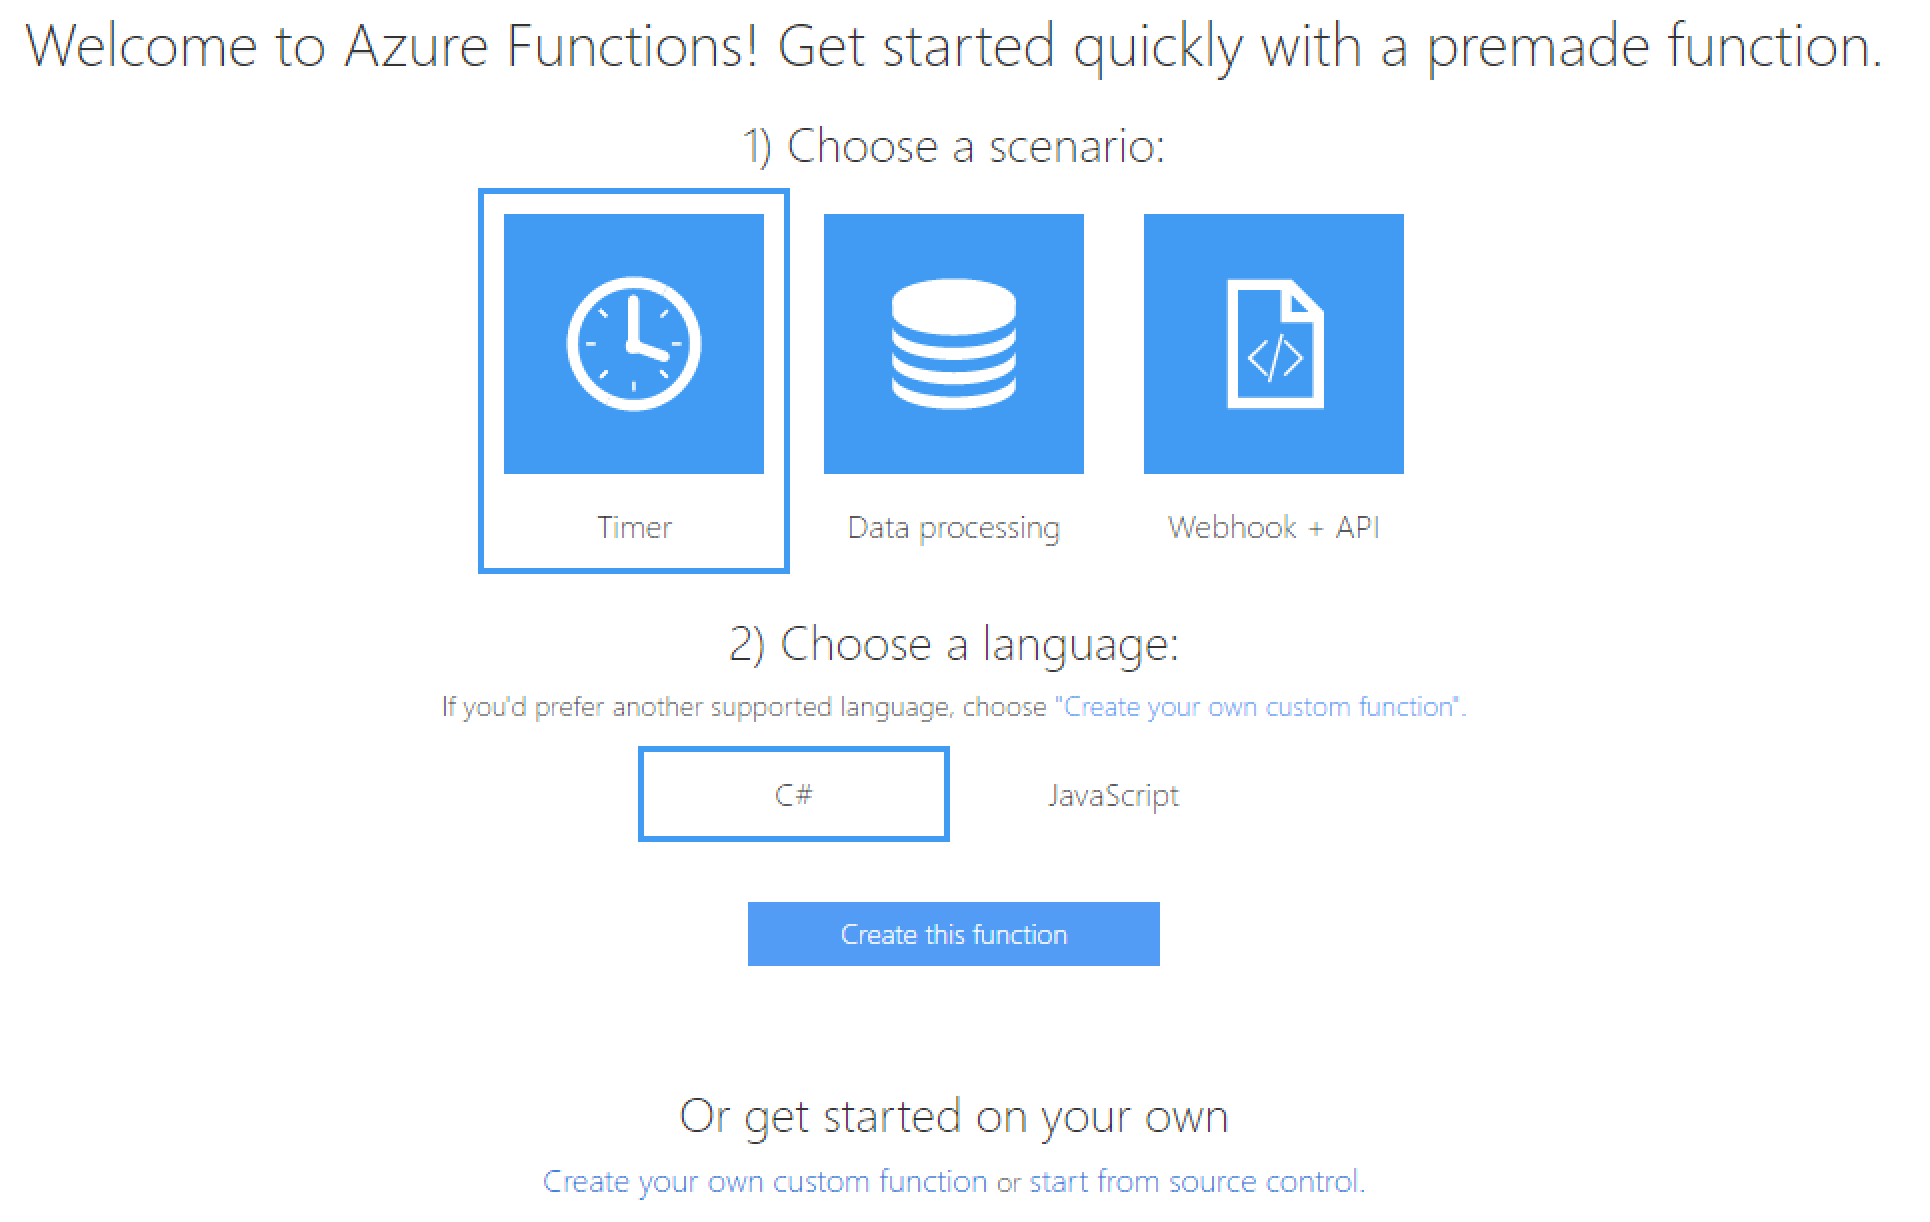
Now we’re ready to create the function itself. Go to your console (to your work folder) type func new and follow the following steps:
- Select a language -> choose F#
- Select a template -> httptrigger
- FunctionName -> ManOrWoman
Push the changes and wait until they are deployed. Don’t worry, only takes few seconds. Now we’re ready to test the test function using a browser. If we try to execute the function using the browser and going to the URL https://manorwoman.azurewebsites.net/api/ManOrWoman?name=Vicenc we’re going to get a 401 Unauthorised as a response. This is because we have the authorisation set as function and therefore we need to provide a code (key) to be able to run this function. Something like this: https://manorwoman.azurewebsites.net/api/ManOrWoman?code=<the_code>&name=Vicenc You can find your code in the Azure Portal under Manage inside your function.
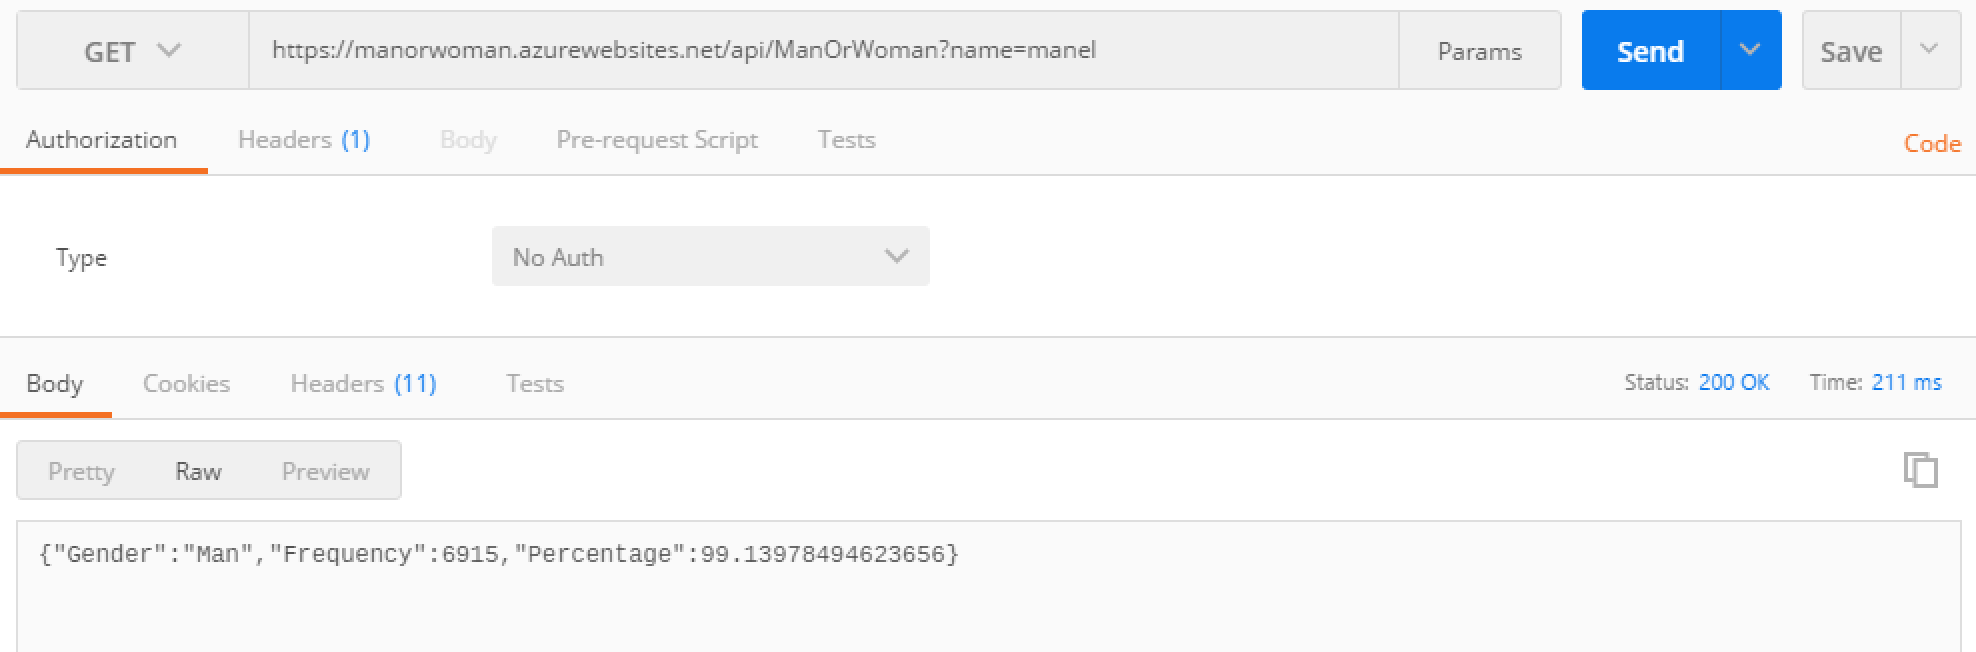
If we’d like to make this function public, we should go to our function.json file and change the authLevel from function to anonymous. Let’s change it, push the changes and try to access the function in this way: https://manorwoman.azurewebsites.net/api/ManOrWoman?name=Vicenc We’re good now and we don’t need to provide any key.
Code
Let’s code the function itself. What we’re going to do is given a name, check it the list of people’s name in Spain. To do that, we’re going to download the data from the goverment and export it as a CSV, one file for men’s names and another one for women’s names. We need to upload this files to our function environment and we’ll do that using Kudu:
- Go to https://<your_function_name>.scm.azurewebsites.net
- Click on Debug Console -> CMD
- Navigate to data
- Create a folder called spain
- Create two files, women.csv and men.csv
- Edit the files and copy the content from the files you’ve recently created
We’ll need the same kind of structure in our local environment to be able to test the function. So, in your function folder, create the same folder structure (/data/spain) and copy there those two files.
As we’re using csv as our data source, we’re going to use the CSV type provider to read the data. Let’s start defining some types we’re going to use. Create a file called types.fs and copy the following content:
namespace Types
    open FSharp.Data

    type NameData = CsvProvider<"Order,Name,Frequency,AverageAge", HasHeaders = true,
                                            Schema = "Order(int),Name,Frequency(int), AverageAge(float)">

    type NameStatistic = {Frequency: int}

    type Result = {
        Gender: string
        Frequency: int
        Percentage:float
    }
And now create a file called statistics.cs and copy the following content:
module Statistics
    open Types
    open FSharp.Data

    let getGenderStatistics (fileName:string) (name:string) =
        let names = NameData.Load(fileName)

        let nameData =
            names.Rows
            |> Seq.filter(fun r -> r.Name = name.ToUpperInvariant() )
            |> Seq.tryHead

        match nameData with
        | None -> None
        | Some x -> Some {NameStatistic.Frequency = x.Frequency}

    let getNameStatistics (name: string) (folder:string) =
        let statistics =
            [|folder + "men.csv"; folder + "women.csv"|]
            |> Array.map(fun x -> getGenderStatistics x name)

        let calculatePercentage (x:int) (y:int) =
            float x * 100.0 / (float x + float y)

        match statistics with
        | [|Some m;Some w|] ->
            match (m.Frequency > w.Frequency) with
            | true -> Some {Gender = "Man"; Frequency = m.Frequency; Percentage = calculatePercentage m.Frequency w.Frequency}
            | false -> Some {Gender = "Woman"; Frequency = w.Frequency; Percentage = calculatePercentage w.Frequency m.Frequency}
        | [|Some m;None|] ->
            Some {Gender = "Man"; Frequency = m.Frequency; Percentage = 100.0}
        | [|None;Some w|] ->
            Some {Gender = "Woman"; Frequency = w.Frequency; Percentage = 100.0}
        | _ -> None
Basically what we’re doing here is to find the name in both files, see where is more common, and return the result.
What we need to do now is to use this function in the run.fsx script. Edit the script with the following content:
#r "System.Net.Http"
#r "Newtonsoft.Json"
#r "Fsharp.Data"
#load "Types.fs"
#load "Statistics.fs"

open System.Net
open System.Net.Http
open System.Net.Http.Headers
open Newtonsoft.Json
open Statistics

let Run(req: HttpRequestMessage, log: TraceWriter) =
    async {
        log.Info(sprintf "F# HTTP trigger function processed a request.")

        let name =
            req.GetQueryNameValuePairs()
            |> Seq.tryFind (fun q -> q.Key.ToLowerInvariant() = "name")

        let folder = Environment.ExpandEnvironmentVariables(@"%HOME%\data\spain\")

        let response =
            match name with
            | Some x ->
                let statistics = getNameStatistics x.Value folder
                match statistics with
                | Some y ->
                    let json = JsonConvert.SerializeObject(y)
                    let jsonResponse = sprintf "%s" json
                    req.CreateResponse(HttpStatusCode.OK, jsonResponse, "text/plain")
                | None -> req.CreateResponse(HttpStatusCode.BadRequest, "We haven't found the name")
            | None ->
                req.CreateResponse(HttpStatusCode.BadRequest, "Specify a Name value")

        return response

    } |> Async.RunSynchronously
In this piece of code, we’re just parsing the input, calling our code, and return the result. The “interesting” part comes when returning the result. As you can see we’re returning it as “text/plain”. That’s because how ASP.Net works internally. You will face the same problem developing a Web API project. If you’re doing that you can use Mark Seemann’s solution or Isaac Abraham’s solution If not, you have two options:
- Specify the media type as “text/plain”
- Use DataMemberAttribute to provide your own names.
I think the second option is the best one because we keep our media type as “application/json”. So, let’s make some changes: In types.fs:
- Add: open System.Runtime.Serialization
- Change the result type to:
[
] type Result = { [<field: DataMember(Name=“Gender”)>] Gender: string [<field: DataMember(Name=“Frequency”)>] Frequency: int [<field: DataMember(Name=“Percentage”)>] Percentage:float }
In run.fsx:
- Add: #r “System.Runtime.Serialization”
- Change the way we create the response to: match statistics with | Some y -> req.CreateResponse(HttpStatusCode.OK, y) | None -> req.CreateResponse(HttpStatusCode.BadRequest, “We haven’t found the name”)
Dependencies
Our last step is to specify the dependencies of the function. In our case, we just need the FSharp.Data dependency. Open the project.json file and add “FSharp.Data”: “2.3.2” inside the dependencies node.
Push the changes and… voilà!!
Summary
In this article, we’ve seen an introduction to Azure Functions using F#. We’ve developed a toy project to learn the basics. But we can’t develop a serious project in this way, we need things like testing and a better deployment. Hopefully, we’ll see it in future posts.
Author Vicenç García
LastMod 01-04-2017