Vault basics
Contents
Vault from HashiCorp is an amazing tool to manage the secrets on your organisation. It not only can help you to manage what they call static secrets that you can write and read, but also allows you to manage dynamic secrets to, for example, create temporary users in a MySQL database with certain permissions. It helps you to have a more secure organization.
Today we’re going to see how can we configure and use the basics of Vault.
Environment
We’re going to define a non-production ready environment for our tests. If you want to learn what you should do to productionise this environment, please follow their hardening guide.
Let’s start then. Assuming that you already have docker installed, let’s create a docker compose file to create the vault server. Create a folder in your laptop and create a file called docker-compose.yml with the following content:
|
|
This will bring up a new container named vault.server from the vault image. We’re defining the three volumes that vault will use, we’re exposing the address of the server in case we want to access it within the container, exposing the port vault is using and, finally, setting the entry point to the command use to start a vault server. As you can see, the command needs a configuration file that we don’t have yet. Let’s go to <base_folder>/etc/vault.server/config and create the config.hcl file with the following content:
|
|
Using this file, we’re saying to Vault that we want a server opened at port 8200, that doesn’t use https, and that will use the file system as a storage. If you want, you can use other storages, being Consul the most popular one.
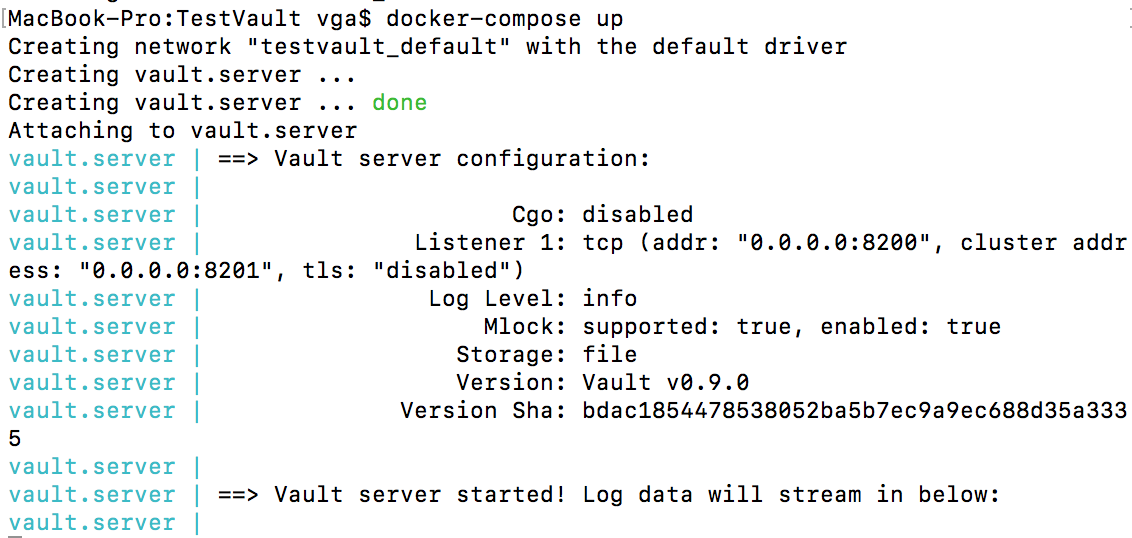
Now, we can bring up the container. Let’s go to your working folder and type docker-compose up
You should see the result of starting vault in your console.
If you want to run the container in detached mode, type docker-compose up -d.
Now it’s time to configure Vault. By default, Vault creates a token (the defatul authentication mechanism) for root access. We can use this token to make the initial set up of Vault. But first, we need to unseal Vault.
Unsealing Vault
First of all, we need to initialise Vault. Initializing Vault means creating the root token we’ve already talked about and, much more important, creating the unsealing keys to, you can image, unseal Vault. to initialise Vault we use the command vault init. This will create 5 keys for us and we’ll need to provide three of them to unseal Vault. To change this configuration, use the parameters -key-shares and -key-threshold. Let’s then use 5 shares and 2 shares as threshold: vault init -key-shares=5 -key-threshold=2.
|
|
Oops! We can’t connect to Vault! This is because, by default, the vault cli tries to connect using https to localhost and using port 8200. In our case, localhost and port 8200 are correct, but we’ve disabled TLS, so we need to connect via http. Let’s configure our terminal to connect to the right place: *export VAULT_ADDR=http://127.0.0.1:8200 *
Let’s try to run the init command again. Now, you should see something like this:
|
|
As the message indicates, every time the server is re-sealed (using vault seal) or restarted we’ll need to provide two of these keys. Save them in a secure place, encrypt them and make an spell to protect them.
And now, finally, we can unseal the server. Type vault unseal. You will see
|
|
Paste there one of the keys and repeat the process as many times as the threshold you used in the initialisation phase.
When you have finally unsealed the server, you should see something like this:
|
|
Awesome. It’s time to configure Vault!
Configure an admin user
You can use different authentication backends in Vault, like GitHub, Okta or LDAP. In this example, we’re going to use username & password.
To make any action in this stage, we need to use the root token. Let’s grab it from the result of the init command and use it: vault auth <token>
|
|
Now we need to enable the authentication backend: vault auth-enable userpass
|
|
Policies
Vault uses policies to grant and permit access to paths (everything in Vault is path based). So, the first thing we need to do is to create a policy for our new brand admin user. Create a file called adminpolicy.hcl with the following contents:
|
|
With this policy, a user will be able to manage users and policies, which is what we need by now. Add this policy using the following command:
|
|
As we already said, everything is a path in Vault, policies not being an exception. To write a new policy, we need to write in the path sys/policy/<name>. If we want, we can read the recently created policy:
|
|
It’s time to create a user linked to this policy.
Users
To create a user that uses this policy, we need to run the following command:
|
|
As always, we’re writing to a path.
Now we can use this new user to create other users. Let’s try that. First, we need to authenticate to Vault using this user
|
|
Time to create a new user. We’d like to create a user with permissions to write secrets in his private space and secretes in a team space. Create a file called <username>.hcl (in my case username = vgaltes) with the following content (replace vgaltes with your username and team with your team name):
|
|
With the first part of the policy, we’re allowing the user to change her password. With the second part, we’re allowing the user to manage his own space (well, a space named as his username), and with the third one we’re allowing the user to manage the team space.
Time to add the policy:
|
|
Now we can crate a user associated to this policy:
|
|
User created!! Let’s write and read some secrets.
Managing secrets
We have now created a new user. We’ve sent an email to him telling that his user has been created and that his password is abcd. The password is not very secure, so we urge him to change it as soon as possible. Let’s see what he can do.
First of all he need to authenticate into Vault. Easy peasy, we already know how to do that:
|
|
Time to change the password. As always, we just need to write into a specific path:
|
|
We can try now to authenticate using the old password. Hopefully it won’t work:
|
|
Awesome! Let’s try with the new password. Now, we’re not going to provide the password, so the cli will ask for it:
|
|
Now we’re ready to write our first secret. Let’s start with something simple:
|
|
Let’s try to read it now:
|
|
Cool! We can do the same with the team space. Just change <username> for <teamname>.
Let’s try to write to someone else’s space:
|
|
As expected, we can’t write to that path.
Summary
We’ve set up a basic (but operational) Vault server. We know how to create policies and users, and how those users can log in into the system and create and read secrets. In the next article, we’ll see how we can use Vault to create temporary users in a MySQL database.
Author Vicenç García
LastMod 16-12-2017