Set up a custom domain for your API Gateway
Contents
If you’re doing something more than a few tests with Lambda and API Gateway, there will be a time where you will like to stop using the AWS-created endpoints for your APIs and start using your own domain. You know, instead of telling your clients, “please, go to https://lk7z14x78h.execute-api.eu-west-1.amazonaws.com/dev/helloWorld", you will like to point them to something like “api.authenticatedservices.net/helloWorld”. In this article, we’ll see how to do that.
Disclaimer This article is a summary of two articles (this one and this one) from Alex DeBrie (who you should follow if you’re interested in serverless). I usually write to articles to be able to learn and put in practice what I learn, joining information from different souces. In this case, the only source is Alex’s articles, with few changes from me. So, please, if you want to read the full story, go to Alex’s articles (and follow him on twitter!!).
Domain
The first thing we’ll need to have is a custom domain. If you need to create one, the easiest way to do it is via AWS. You can go to Route53 and buy a domain. You’ll be able to use it fairly quick, but it can take up to 72 hours to be set up.
Certificate
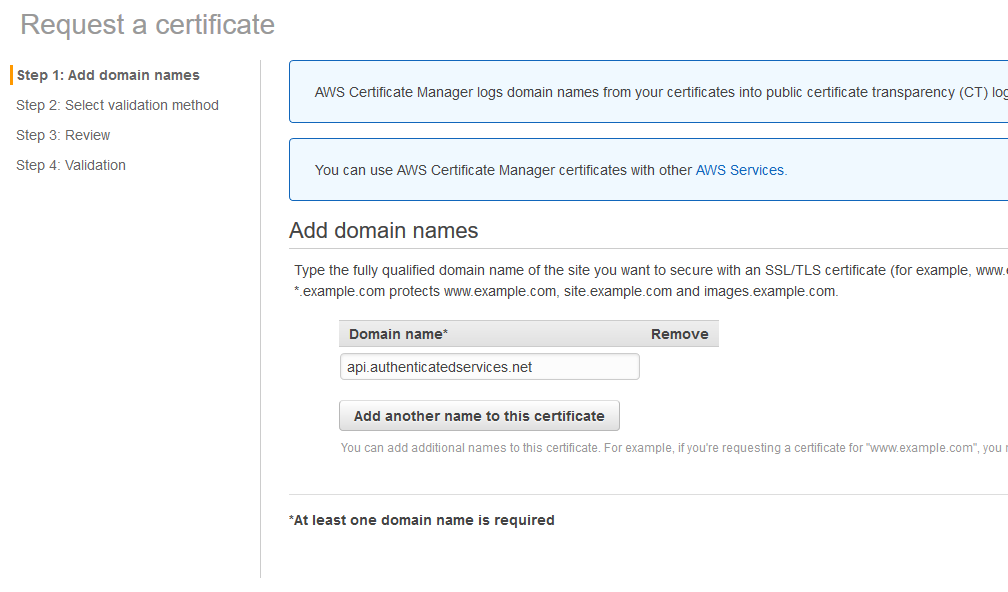
Once you have a domain, you’ll need a certificate for that domain as API Gateway requires HTTPS. Again, the easiest way to do this is via AWS. Let’s say we want to create the domain api.authenticatedservices.net (and we own authenticatedservices.net, of course). Go to Certificate Manager on AWS and make sure you’re in us-east-1 as this is the only region that it works with API Gateway (see here for more information).
Click on Request a certificate and in the next screen click again on Request a certificate. Put the name of your domain, for example apiv2.authenticatedservices.net and click next.
Select DNS validation on the next screen and click on Review. Click on Confirm and request in the next screen.
Now we need to validate the certificate. In the next screen, expand the domain section and click on Create record in Route 53
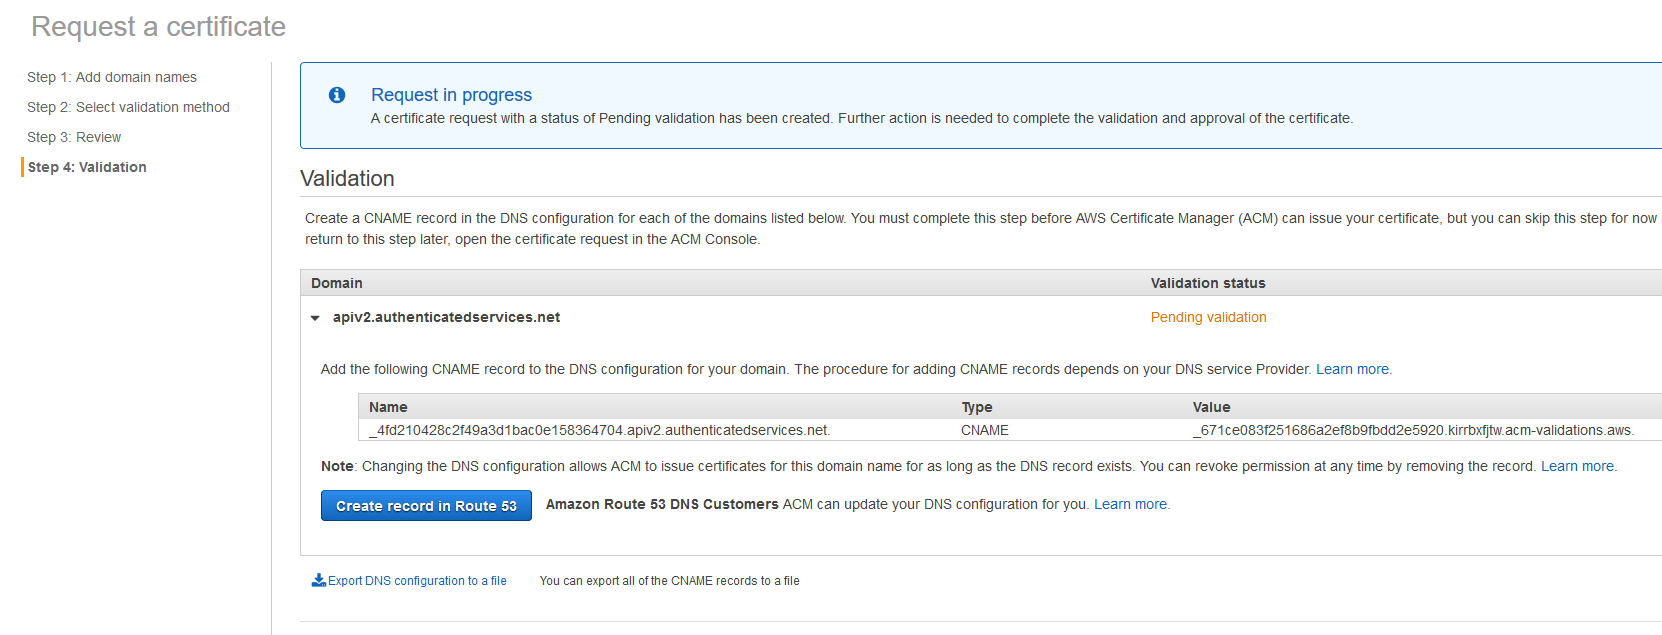
Click on Create in the pop up and on Continue on the main screen. It will usually take a couple of minutes to validate the certificate. In the Certificate Manager main screen you’ll see the certificate in the Pending Validation state until it gets validated.
Custom domain in API Gateway
It’s time to create the custom domain in API Gateway. As often happens, we won’t need to do it manually as a plugin of the serverless framework exists that will help us. So, go to your serverless proyect and install the plugin serverless-domain-manager: yarn add serverless-domain-manager --dev. Thanks to the people of Amplify Education for this!
Now we need to configure the plugin. The way the plugin gets configured is adding an new section on the Custom section of the serverless.yml file:
|
|
Assuming you have an API in the path helloWorld, the URL of the endpoint will be https://${domainName}/${basePath}/helloWorld, in our case https://apiv2.authenticatedservices.net/another-service/helloWorld. We will see later why is useful to set the basePath to something.
Now it’s time to create the domain. To do that, run the command serverless create_domain. As usual, my recommendation is to create a script in the package.json file and run it via npm or yarn. Don’t forget to specify the AWS profile in case you use them.
As you’ll see in the console, it can take up to 40 minutes for the domain to be initialised, so grab a good book and wait a little bit.

We’re back!! It’s time to deploy our api. Just run the usual deployment command. Again, much better if you have this in a script.
When you deploy, you will see a new section at the botton of the command’s output. You should see something like this:
|
|
And now, you can go to your endpoint and see that is working perfectly.

Domain per environment and wildcard certificates
Creating new environments in Serverless is easy and cheap, so we usually have more than environment (or stage, you choose the name). Can we have a custom domain for each environment and use a wildcard certificate on those domains? Yes, we can!
When using a certificate with a different name from the domain, we need to set the certificateName property of the customDomain section. We can hardcode the values there easily, but if we want those values to change depending on the stage, we need to do a bit of work (I promise, it’s just a bit!). So, add this variables to the custom section of your serverless.yml:
|
|
As you can see, we’re defining three stages (prod, staging and dev), each of them with their own custom domain name and their certificate. Staging and dev will share the wildcard certificate.
Now, change de customDomain section to use those values. We’ll be taking advantage of the beautiful variable interpolation that the Serverless Framework give us:
|
|
And finally, let’s add some script to help us with the deployment. Add these lines to the package.json file.:
|
|
Now, you will need to do what we did before for each environment: call the create_domain command first, and then call the deploy command.
And that’s it! Now you have your beautiful API behind your custom domain.
Summary
In this article, we’ve seen how we can have a serverless API behind a custom domain. Hope it helps!!
Author Vicenç García
LastMod 06-11-2019